With the increased use of technology, digital menus on screens are changing the way restaurants, cafeterias, and food-selling entities present information to their customers. These dynamic signs add to customer satisfaction, increase effectiveness, and make menu control easy. If you are moving up from static menus or beginning from zero, it is now easier than ever to create a digital menu screen if you have the right tools and strategy.
This article gives a step-by-step guide to follow when designing and placing your digital menu screen in your restaurant.
What does a digital menu screen mean?
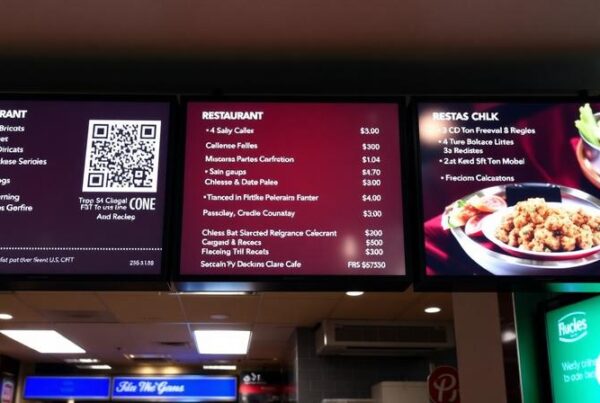
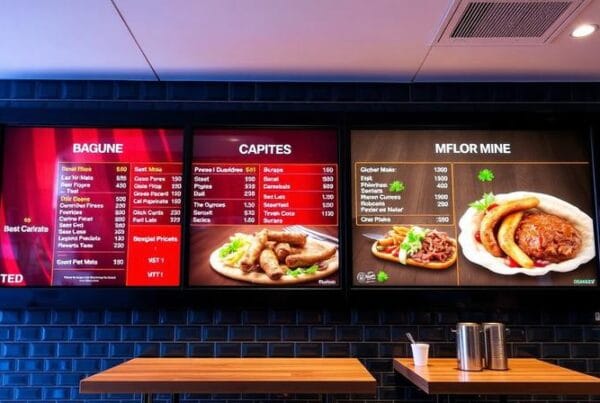
A digital menu screen is an electronic display mainly using an LED or LCD screen to advertise the restaurant’s menu, price list, special offers, and so on. These screens can be updated remotely and can be made to fit your company brand and your targeted demographic. Digital menu boards are used in QSRs, drive-thrus, food courts, and cafés.
Advantages of the Digital Menu Screen
Before diving into the creation process, it’s important to understand why digital menu screens are worth the investment:
1. Dynamic Content: Use banners with service advertisements, filmed or animated promotions, to attract the client’s attention.
2. Easy Updates: Customers are able to update features such as prices, certain food items, or additions to specials without having to reprint these on the menu.
3. Improved Aesthetics: Contemporary glossy surfaces give a new look to your brand identity.
4. Increased Sales: There should be a way to draw attention to high-margin products or combinations of products to encourage customers to go for them.
5. Cost-effective: Reduce the costs of printing and design in the long run.
Digital Menu Screen: A Step-by-Step Guide
Step 1: Define Your Goals
Before starting, identify what you want to achieve with your digital menu screen:
· Are you interested in decreasing the time that customers spend searching for the items they need on the menu?
· Do you need to advertise a new menu or any other products that are seasonal or limited offers?
· Are you aiming for a sleek electronic look for your home?
When deciding on your objectives, these will help dictate the layout and use of your menu screen.
Step 2: Choose the Right Hardware
Hardware is the core of your digital menu screen, the physical structure that will house your message and convey your information to the consumer. Consider the following:
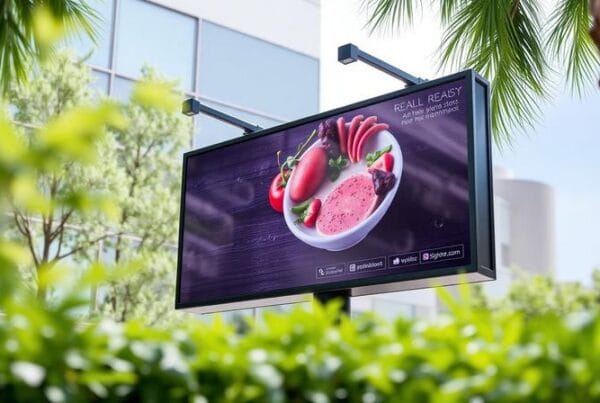
1. Display Type:
· LCD/LED Screens: Usually it is used for interior menu.
· Outdoor Screens: Weather-resistant and has sun-readable technology for drive-throughs or outdoors.
2. Screen Size: Choose a size that fits at your shop or business and that is clearly visible to the customers.
3. Mounting Options: Choose between incorporating wall-mounted screens, ceiling-mounted screens, or screens mounted on stands.
4. Media Player: A media player is software that links with your screen and executes the content. Most screens come with their own players, while others will need the use of separate players.
Step 3: Choose a Content Management System (CMS)
A Content Management System (CMS) is used for designing, editing, and publishing your menu content. Popular options include:
· Cloud-Based CMS: Control your content and reach it from the palm of your hands.
· On-premise CMS: A system that is locally installed on your business premise.
· Free Tools: For simple designs, Canva or PowerPoint is useful for creating designs for beginners.
It should be easy to use, and the CMS should allow for animations and scheduling and must be compatible with other tools such as POS.
Step 4: Design Your Menu Screen
The design of an excellent menu screen is essential. Here’s how to design it:
1. Organize the layout:
Arrange the menu bar in columns (categories, promotions, images).
Its design should not be complex so as to be very congested since this will make their comprehension very hard.
2. Use high-quality visuals:
Make sure to include mouth-watering pictures of the food you offer, or better yet, put up a video of your meals.
Choose high-quality visuals so you retain a professional appearance.
3. Choose legitimate fonts and colors:
Make them large and clear fonts, which can be easily recognized from a considerable distance.
There is a need to make text contrast with the background for ease of reading.
4. Highlight Key Items:
Draw attention to some books, popular products, big gross margin products, combinations or double deals by putting them in italic, colors, animations, etc.
5. Include Essential Information:
Prices should therefore be easily visible, and the portion sizes should be easily distinguishable.
Include the tags for food selection made under diets (such as vegetarian or low-GI).
6. Maintain brand consistency:
Stay consistent with your brand’s colors, your logo, and the theme of your brand as you design.
Step 5: Install and Set Up the Screen
Once your design is ready, it’s time to install and configure your digital menu screen.
1. Mount the Screen: Safely mount the screens at a height that is convenient to users or that is easily noticeable by the customers.
2. Connect the Media Player: Secure the media player to the screen and make sure that media player is receiving proper power supply and is connected to CMS.
3. Test the setup: Perform a check to ensure that the menu looks fine and that its transition from one slide to the other is smooth.
Step 6: Manage and Update Content
As a bonus, it is necessary to note that the main advantage of digital menu screens is their versatility. Use this to your advantage:
· Specialize menus into time periods, for instance, breakfast, lunch, or dinner.
Promote products in the store at different times of the year and create product scarcity.
· Use the acquired information to display frequently bought products to clients.
Tips for an Effective Digital Menu Screen
· Rotate Content: Avoid having static displays by either changing them or adding movements to the items being displayed.
· Optimize for Visibility: Make text size and color contrast easily legible even in high levels of ambient lighting.
· Integrate with POS Systems: Control is therefore needed to simplify update procedures and align updates across systems.
· Engage Customers: To fill the gaps between meals, provide customers with trivia, social media updates, or the chef’s special.
Conclusion
Developing the digital menu screen is indeed a capital investment that, when well implemented, can revolutionize the restaurant business. Selecting the proper type of hardware, creating attractive content, and utilizing an effective content management system are the ways to develop eye-popping, effective, and commercially successful menu design. If done correctly, your digital menu screen can be a recipe for success for your restaurant business.