
Transforming Dining Experiences with Digital Menus
Restaurants now need digital menus because they provide a competitive advantage through both superior first impressions and operational speed in the current dining market. The change to digital menus provides restaurant owners of both small establishments and big chains enhanced capabilities to strengthen customer experience while maintaining operational flexibility.
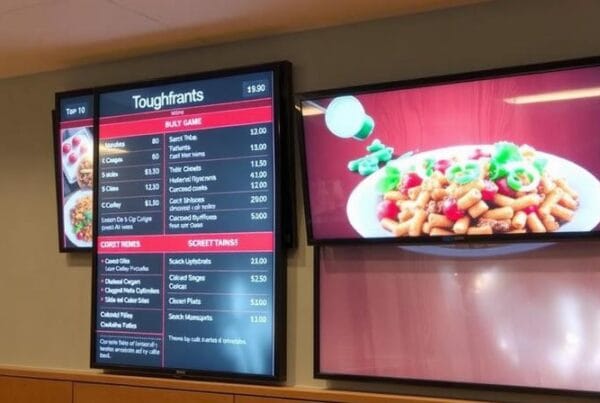
Traditional methods of menu management including paper prints and chalkboards boards have become obsolete. Restaurant digital signage makes menus interactive tools to promote products, so they attract and educate guests for conversion. The following section presents modern digital menu ideas which will spark your design imagination.
Why More Restaurants Are Embracing Digital Menus
Going digital in restaurant menu management provides many beneficial outcomes that combine cost reduction along with customer-brand interactions. A well-implemented digital menu simplifies operations while becoming a sales tool that educates and directs customers through an easy and automatic process.
Some of the most impactful benefits include:
- Convenience: Make changes to the menu instantaneously and avoid the drawback of having to print new copies or miscommunication with the clients.
- Increase in Revenues: When restaurants promote combos, specials or higher margin dishes, there is likely to be an increase in the amount of money that customers spend per head.
- Contactless Convenience: One of the crucial factors that remain relevant even after the pandemic is the reduction of contact points. Digital and QR code menus are more hygienic and comfortable for guests.

Innovative Digital Menu Ideas That Work
Interactive Touchscreen Menus
The table displays touchscreen interfaces, together with self-service kiosks, providing visitors with an engaging interaction. The system allows customers to sort their preferences by dietary requirements and build personalized orders with video demonstrations of kitchen preparation. The engaging table interaction enables staff to make personalized suggestions, leading to increased upselling opportunities.
QR Code-Based Menus
The use of QR code menus has become the most popular restaurant innovation because they provide an easy solution that works for both dine-in customers and takeout orders. Your digital menu becomes available through a quick code scan which protects customer safety and lowers printing expenses while allowing instant menu modifications.
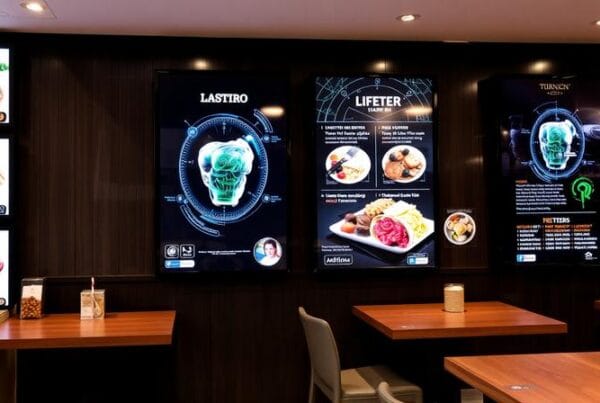
AI-Powered Personalized Menus
Artificial Intelligence operates as a transformative power in the digital signage solutions used by restaurants. AI-powered software enables your digital menu to assess customer data through previous ordering records and optimal usage periods in order to make appropriate recommendations. The system suggests warm soups for rainy days and smoothies for hot temperatures because these recommendations drive customer conversions.
Dynamic Pricing Displays
A digital menu system enables restaurant owners to change prices according to customer demand levels and specific events and time-related factors. The system can display happy hour pricing between 5-7 PM while premium pricing activates automatically during busy hours without any need for staff involvement.
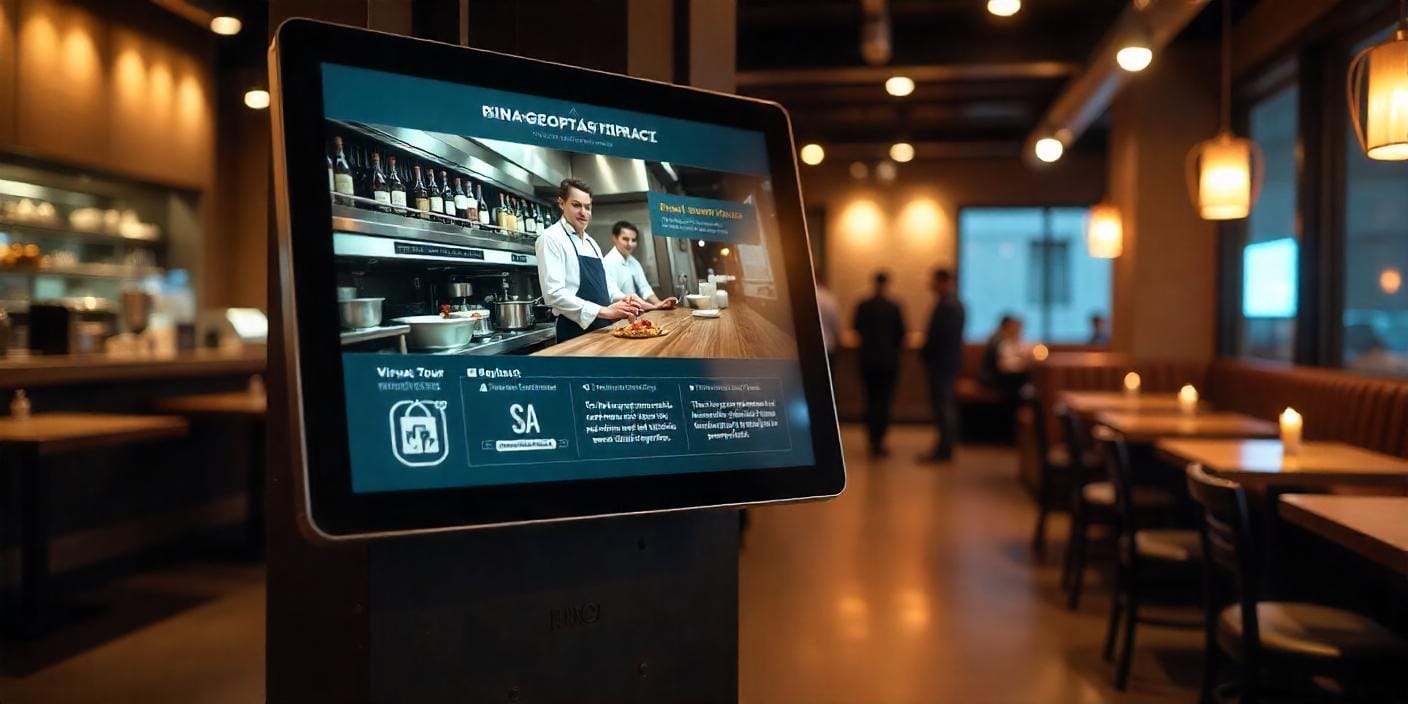
Self-Service Ordering Kiosks
Your business will decrease front-of-house dependency while maintaining accurate orders through self-ordering kiosks linked to your digital restaurant menu. The combination of self-ordering kiosks with purposeful upselling recommendations during the ordering stages generates increased spending from each customer.
Designing a Digital Menu That Sells
The quality of design stands equal to the quality of food. Follow these steps to achieve an attractive Digital Menu For Restaurants that also provides excellent functionality:
Prioritize Readability: The menu should utilize readable fonts that remain easily legible to viewers from any viewing distance. The text elements must have proper spacing, which works well for different display sizes.
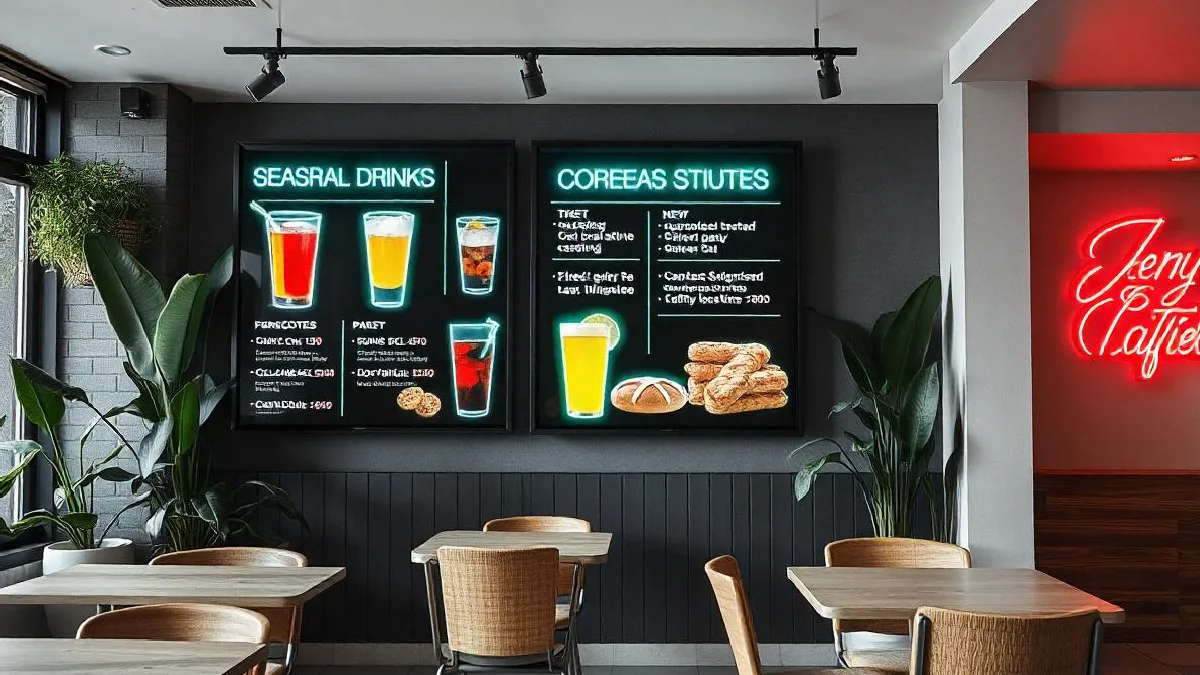
Use High-Resolution Imagery: High-resolution images should display full-size portions of dishes to create appetizing visuals that match the way they appear on presentation plates. Avoid stock photos—authenticity matters.
Stay On Brand: Your digital menu needs to maintain brand consistency by using restaurant branding elements for colors and style together with tone. Consistence builds trust and recognition.
Create Strategic Layouts: Strategic organization of menu content must group dishes into starter section and main course section and dessert section while optimally featuring elevated dishes. You should include icons with dietary tags such as vegan and gluten-free and spicy so customers can easily find suitable options.
Optimize for Multi-Screen Use: Your layout design must support an adaptable presentation across all tablet devices, wall screens, as well as smartphones.
 How to Implement Digital Signage in Your Restaurant
 How to Implement Digital Signage in Your Restaurant
The process of implementing digital signage does not need to be difficult to understand or execute. Begin by comprehending the layout design and customer movement patterns within your restaurant along with your service delivery protocol.
Determine which restaurant signboards you require for the counter along with wall displays for dining customers and mobile QR menu options for delivery orders. Select electronic devices according to your lighting situation as well as the available room area alongside financial constraints.
From there, select digital signage software that offers:
- Easy content management
- Integration with your POS
- Support for multimedia and scheduling
- Cloud-based remote access
Platforms like Nento provide user-friendly solutions with free templates and full-service support, making it easy for any restaurant to upgrade its customer experience without a tech background.
Real Results: Restaurants Winning with Digital Menus
Digital transformation isn’t just a theory, it’s working in real time for major food chains:
- Wendy’s has entered into the use of digital menu boards to incorporate artificial intelligence in changing the menu and pricing based on the time of the day in drive-throughs. The result? Improved order accuracy and better customer satisfaction.
- Shake Shack realized an increase in productivity and increased ticket amount through the use of self-service ordering kiosks using digital menu applications. The customers got to feel that they were self-employed, and the employees were able to concentrate on their job performance.
These success stories give an insight into how effective digital menu solutions can be when it comes to increasing sales and the satisfaction of the clients.
 Ready to Upgrade? Start Your Free Trial with Nento
 Ready to Upgrade? Start Your Free Trial with Nento
You should start implementing digital menus now because the time is perfect for such a transition. Nento gives users full access to user-friendly menu building tools along with responsive design templates as well as powerful integration features and data analytics in real-time.
Your 14-day Nento free trial will demonstrate how digital restaurant menus transform business operations through single screens.
Your menu representation consists of more than simple dish listings. It’s an experience.
Make it digital. Make it unforgettable.
Frequently Asked Questions (FAQs)
What is a digital menu for restaurants?
Real-time updates visual enhancements, and interactive features run through digital menus, which replace traditional paper menus by using electronic screens tablets and phones.
Can digital menus really help increase revenue?
Yes. Restaurants that adopt digital menus generate improved revenue by effectively selling more merchandise with visual appeal to advertise featured products.
How expensive is it to implement a digital menu system?
The prices for digital menu platforms differ based on size and complexity but Nento and similar providers present flexible pricing structures along with a risk-free 14-day trial period.
Is a digital menu hard to manage for non-tech users?
Not at all. The majority of digital menu systems incorporate drag-and-drop builders and cloud-based dashboards through which users can perform updates through simple social media edit functions.
What hardware is needed for digital signage?
Commercial-grade screens with mounting hardware and media player software and internet access for cloud-based platforms make up the necessary equipment.