Menus that are printed are slow, costly, and not dynamic. Digital menu software for TV transforms all the screens in your venue into a living, selling, brand-building canvas. It is possible to push new prices, exchange photos, daypart schedule, and synchronize with the POS, all through a single dashboard without reprinting or lag. The following is a step-by-step guide to selecting and implementing digital menu board software for TV, as well as the digital signage products and processes that make it sing in real-life restaurants.
What Exactly Is Digital Menu Software for TV?
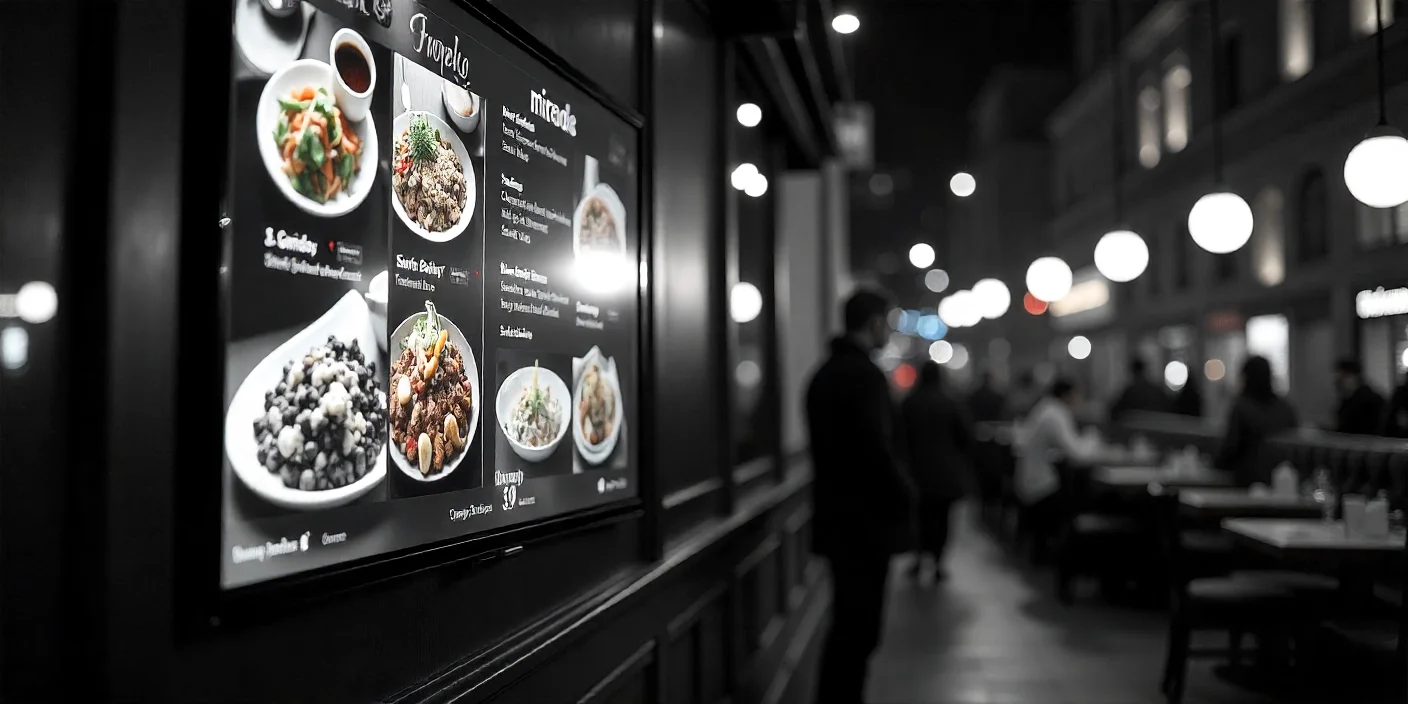
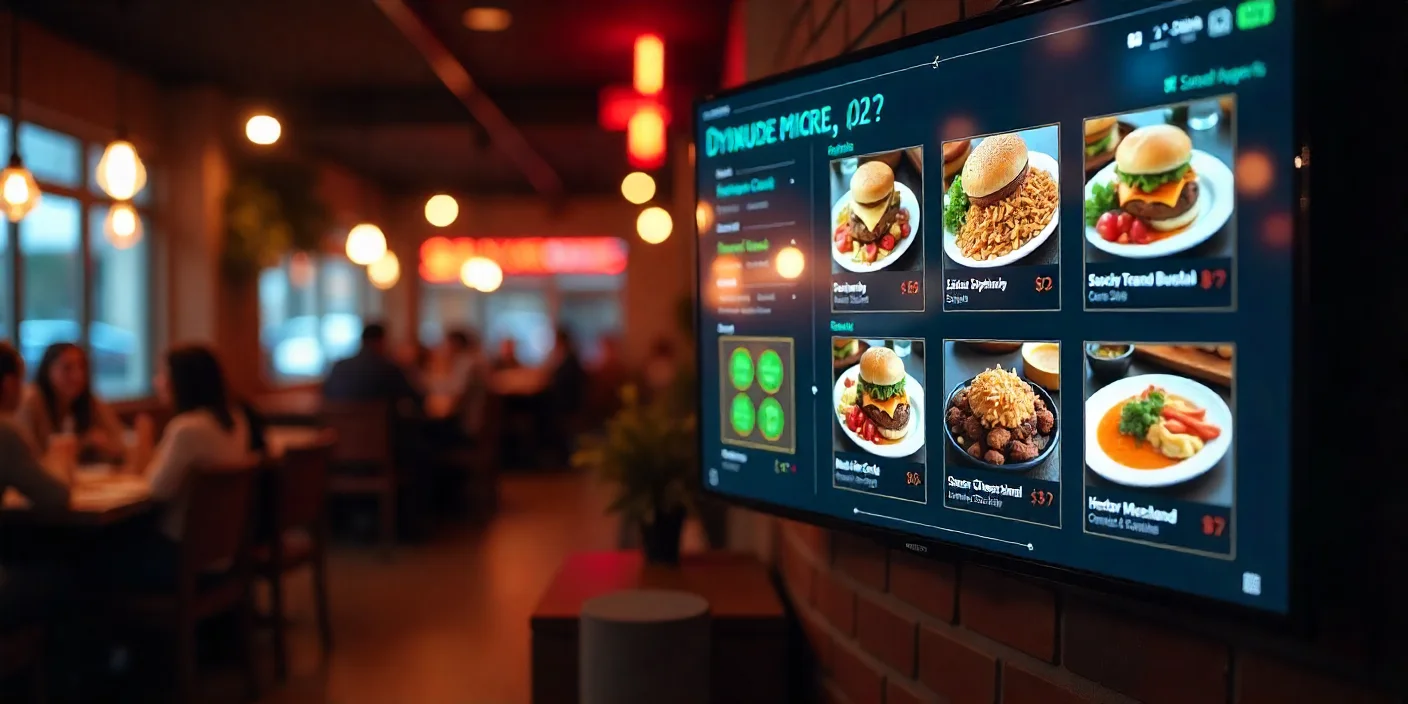
Consider it a purpose-built digital signage software overlay that publishes menus, promos, and announcements to any digital signage (HD/4K TVs, commercial panels, or video walls). Unlike canned slideshows, digital menu boards are interactive and data-rich:
- Instant updating of items and prices
- Screen running action video and mouth -watering photography
- Market time of day or inventory electronic menu boards
- Integrate with the POS, payments, and loyalty to automate the grunt work
QSRs, cafes, bars, food halls, food trucks—any place where a fast, consistent menu experience is important, you will find digital menu boards in restaurants.
Why Restaurants Choose TVs for Menus (and Why Guests Love Them)
Instant merchandising at the point of decision
Digital menu software for TV lets you feature high-margin add-ons, limited runs, and bundles when customers are making their choices.
Real-time control across locations
Send a breakfast change to a single store, a price change to a territory, or a new LTO to every screen—cloud commands on cloud-based digital signage travel instantly.
Lower lifetime cost
You end with printing and reprinting. A contemporary digital signage solution with long-lasting screens will be repaid in a short period of time in saved time and the upsells.
Core Capabilities You’ll Actually Use
Dayparting & automation
Autoset breakfast → lunch → dinner, with happy-hour takeovers and holiday skins baked in.
POS & inventory sync
Your POS is reflected in menu availability, modifiers, and pricing. When a dish 86s, your electronic menu board conceals it at once.
Rich media support
Play 4K video loops, cinemagraphs, GIFs, and mouthwatering product shots to increase dwell time and conversion.
Multi-site, multi-screen control
A single CMS drives single TVs, ribbons, or video walls—and scales to multi-location chains of hundreds of locations.
Pro tip: narrow down the list of platforms that are advertised as the optimal digital signage software in the hospitality industry—they will already have food-friendly templates and menu widgets.
Architecture Choices: Cloud vs. Local
Cloud-based digital signage
- Rapid to implement and administer everywhere
- Perfect for franchises and multi-site brands
- Online updates, intrinsic security and backups
On-prem/local players
- Functions with a poor internet connection
- Greater device control in specialty environments
- Excellent when on-site data is necessary to be compliant
A majority of brands are a hybrid: cloud control and offline playback on the player.
Hardware: Screens, Players, Mounting That Just Works
Screens (consumer TV vs. commercial panel)
Digital menu boards can be run on consumer TVs; commercial panels include 24/7 duty cycles and brighter and longer warranties and are worth it in high-traffic QSRs.
Media players
Sticks (Android sticks, Raspberry Pi) or specific players (e.g., BrightSign) maintain smooth content. Your digital signage software vendor should make sure your player is certified.
Placement & readability
Mount at eye level and without glare. Big queues? Think of a header digital signage screen and a waist-high screen to be used in promos and loyalty pushes.
Design System: From Template to On-Brand Perfection
- Use a ready-to-go template in the CMS (burgers, pizza, sushi, cafe).
- Create a style kit: colors, logo lockups, type scale, and photography rules.
- Motion should be used wisely, and a 6–10 second loop on hero dishes is better than chaotic animation.
- Leave a “promo rail” area for LTOs and seasonal features.
Yes—certain digital signage software has chef-friendly drag-and-drop builders and a rich restaurant menu board template library.
Operations: Who Does What (and When)
Marketing
Has creative promotions and brand compliance.
Oops
Has daypart schedules and inventory flags.
Store teams
Use one-touch presets to trigger local announcements (e.g., fresh batch out of the oven).
This hygienic workflow keeps restaurant digital signage and restaurant menu board content error-free and without bottlenecks.
Multi-Location Rollouts Without the Headaches
- Roles & permissions by region/store
- Playlists & tagging (e.g., stores with drive-thru, test market)
- Everything goes through approval, so nothing rogue appears on a screen
- Group reporting to compare uplift area-wise
They are table stakes in contemporary chain digital signage solutions.
Analytics & Optimization You’ll Actually Use
- Item heatmaps: which tiles are the most visited
- A/B tests: photo vs. video, placement, price cards
- Daypart performance: breakfast add-on lifts versus lunch combos
- Queue-length triggers: switch to simpler layouts in line spikes
Continuous testing is the way you transform digital menu board software for TV into a profitable one.
Accessibility, Compliance & Inclusivity
- High-contrast palettes and headline type that is large and legible
- Allergen and nutrition badges
- Multilingual switches in tourist centers
- ADA sightline and glare ADA sightline and glare considerations
Easy menus are not only good for ethics, but they also boost confidence in the orders.
Drive-Thru, Patio & Window: Outdoor Considerations
The outdoor digital signage display units require high nits, weatherproof casing, and a heater/cooler. Make layouts big and simple—drive-thru choices are made within seconds.
Implementation Roadmap (90 Days to Live)
- Week 1-2: Select your digital signage software, hardware audit, and menu data flow definition
- Week 3-4: Build brand kit and templates; incorporate POS
- Weeks 5-6: Test one store; test day parts and LTOs
- Weeks 7-10: Staff training, regional roll-out, KPIs
- Weeks 11-12: Analyze, iterate, lock global standards
Cost & ROI: What to Expect
- Software: $10-40/screen/month on the majority of digital signage software
- Hardware: 250-1200 per screen (TV + player + mounts)
- Common ROI levers: +5-20% attach on sides/drinks, quicker menu changes, less print expenses
In QSRs and cafes, a tuned digital signage system earns back its cost in a short period of time.
Choosing Your Platform: What “Best” Looks Like
When individuals are referring to the best digital signage software, they refer to:
- Menu widgets and POS integrations at the hospitality level
- Offline playback bulletproofs
- Role-based access and enterprise SSO
- Loyalty, inventory, and pricing API/webhooks
- Large-scale multi-site brand support
Narrow down the vendors to those who have a track record of experience in digital menu boards for restaurants, not some generic corporate displays.
Troubleshooting & Care
- Frozen screen? Restart the player; look at the network later.
- Colors out? Disable TV vivid mode and CMS color profiles.
- Slow syncs? Use peak-clipped media; run at off-peak.
- Burn-in risk? Allow pixel shift and change layouts weekly.
Bring Your Menus to Life—Starting Now
When you are prepared to get past paper and PDF, implement digital menu software for TV that fits the hospitality industry. Combine a solid CMS with clean visuals and intelligent automation, and your screens will sell themselves. With TV digital menu board software, a versatile digital signage display, and scalable digital signage solutions, you are on the fastest road to modern and profitable menus, whether you are running a single shop or standardizing a chain.
FAQs: Digital Menu Software for TV
Do I need special TVs?
No. The majority of HD/4K televisions are compatible. The duty of commercial displays is longer in 16/7 or 24/7.
Can I manage menus remotely?
Indeed, the contemporary platforms are cloud-based digital signage, which can be operated on any browser or phone.
Will it work with my POS?
Major digital signage software is compatible with Square, Toast, Clover, Lightspeed, and others to synchronize electronic menu board data.
Can I run video on the menu?
Absolutely. The digital signage software supports 4K video, GIFs, and motion loops.
What if the internet drops?
Select a platform that supports offline playback so that screens continue to display cached content.
How many screens can I control?
And from a single cafe to thousands of locations—good systems scale with roles, tags, and approval flows.
Is this only for fast food?
No. The digital menu boards are beneficial in cafes, bakeries, bars, food halls, and fine-casual concepts.
Can I reuse my existing designs?
Yes, upload assets or begin with templates within the CMS to launch quickly.