In today’s fast-paced digital era, traditional static menus in restaurants are gradually being replaced by dynamic digital menu boards. Not only do these digital displays enhance the aesthetic appeal of your restaurant, but they also provide numerous practical benefits such as easy updates, enhanced visibility, and improved customer engagement. If you’re considering upgrading to digital menu boards, you’re making a wise decision to stay ahead in the competitive restaurant industry. To help you with a seamless transition, here’s a comprehensive step-by-step installation guide for digital menu boards:
Planning Phase: Before diving into the installation process, take some time to plan. Evaluate your restaurant layout, customer flow, and the number of menu screens required. Consider the size and placement of the screens to ensure maximum visibility and accessibility for your customers.
Selecting the Right Equipment: Choose high-quality digital displays that suit your restaurant’s ambiance and budget. Opt for commercial-grade displays designed for continuous operation in a restaurant environment. Additionally, invest in media players or digital signage software that enables easy content management and scheduling.
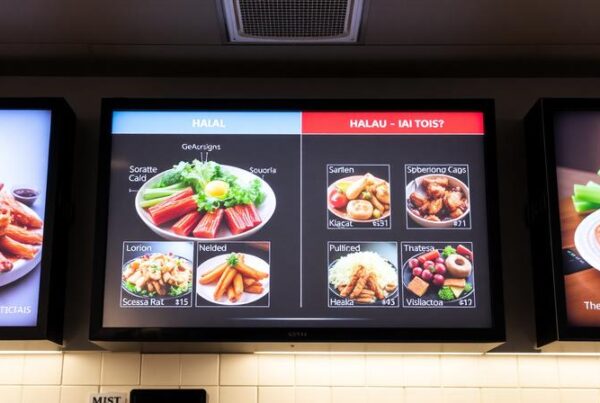
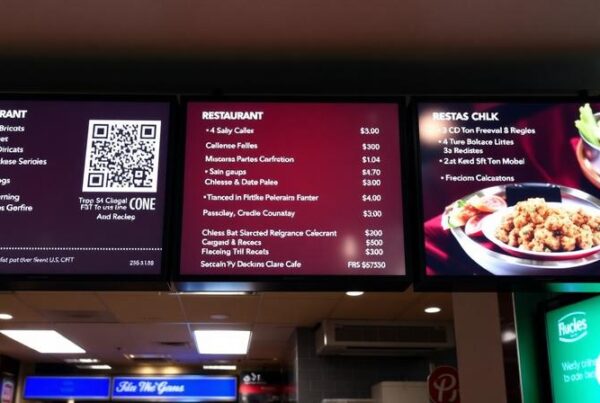
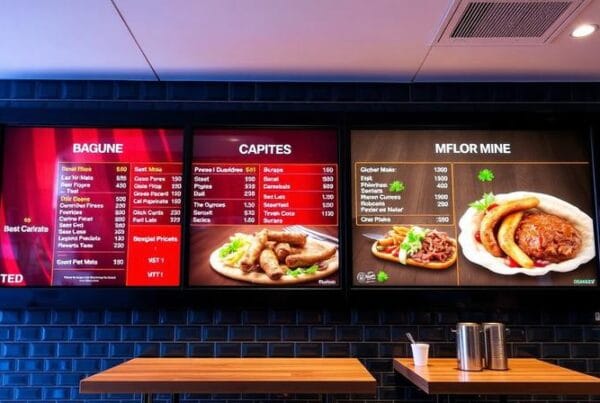
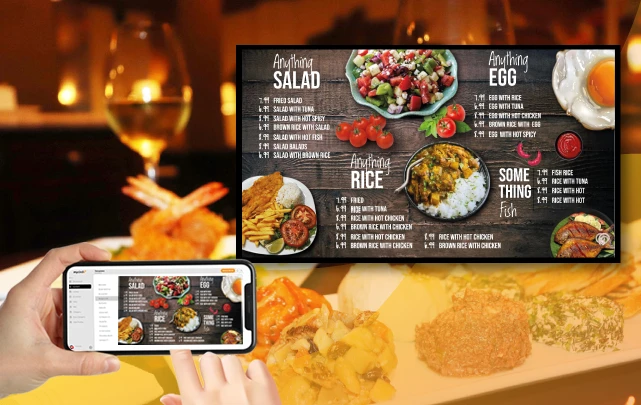
Content Creation: Create visually appealing content that effectively showcases your menu items. Include high-resolution images, enticing descriptions, and pricing information. Ensure that the content reflects your brand identity and complements the overall ambiance of your restaurant.
Mounting and Installation: Begin by determining the optimal placement for each digital menu board. Mount the displays securely on walls or ceilings using appropriate mounting hardware. Pay attention to cable management to maintain a neat and professional appearance. If necessary, seek assistance from professional installers to ensure proper installation.
Connectivity Setup: Connect the digital displays to power sources and media players using compatible cables. Configure the media players to connect to your restaurant’s network for remote content management and updates. Test the connectivity to ensure seamless communication between the displays and media players.
Content Deployment: Upload your carefully crafted content to the media players or digital signage software. Organize the content into playlists or schedules to display different menu items at specific times of the day. Regularly update the content to promote seasonal specials, limited-time offers, or new menu additions.
Testing and Calibration: Before launching your digital menu boards to the public, conduct thorough testing and calibration. Ensure that all displays are functioning properly, and the content is displayed accurately. Adjust settings such as brightness, contrast, and color calibration to optimize visual quality.
Training Staff: Train your staff on how to operate the digital menu boards and make basic updates or changes to the content. Provide them with clear instructions on troubleshooting common issues and accessing technical support if needed.
Monitoring and Maintenance: Regularly monitor the performance of your digital menu boards and address any technical issues promptly. Schedule routine maintenance tasks such as cleaning the displays and updating software to ensure optimal functionality and longevity.
By following this step-by-step installation guide, you can seamlessly integrate digital menu boards into your restaurant and elevate the dining experience for your customers. Embrace the power of digital technology to stay relevant, attract more customers, and enhance your restaurant’s overall appeal in today’s competitive market.